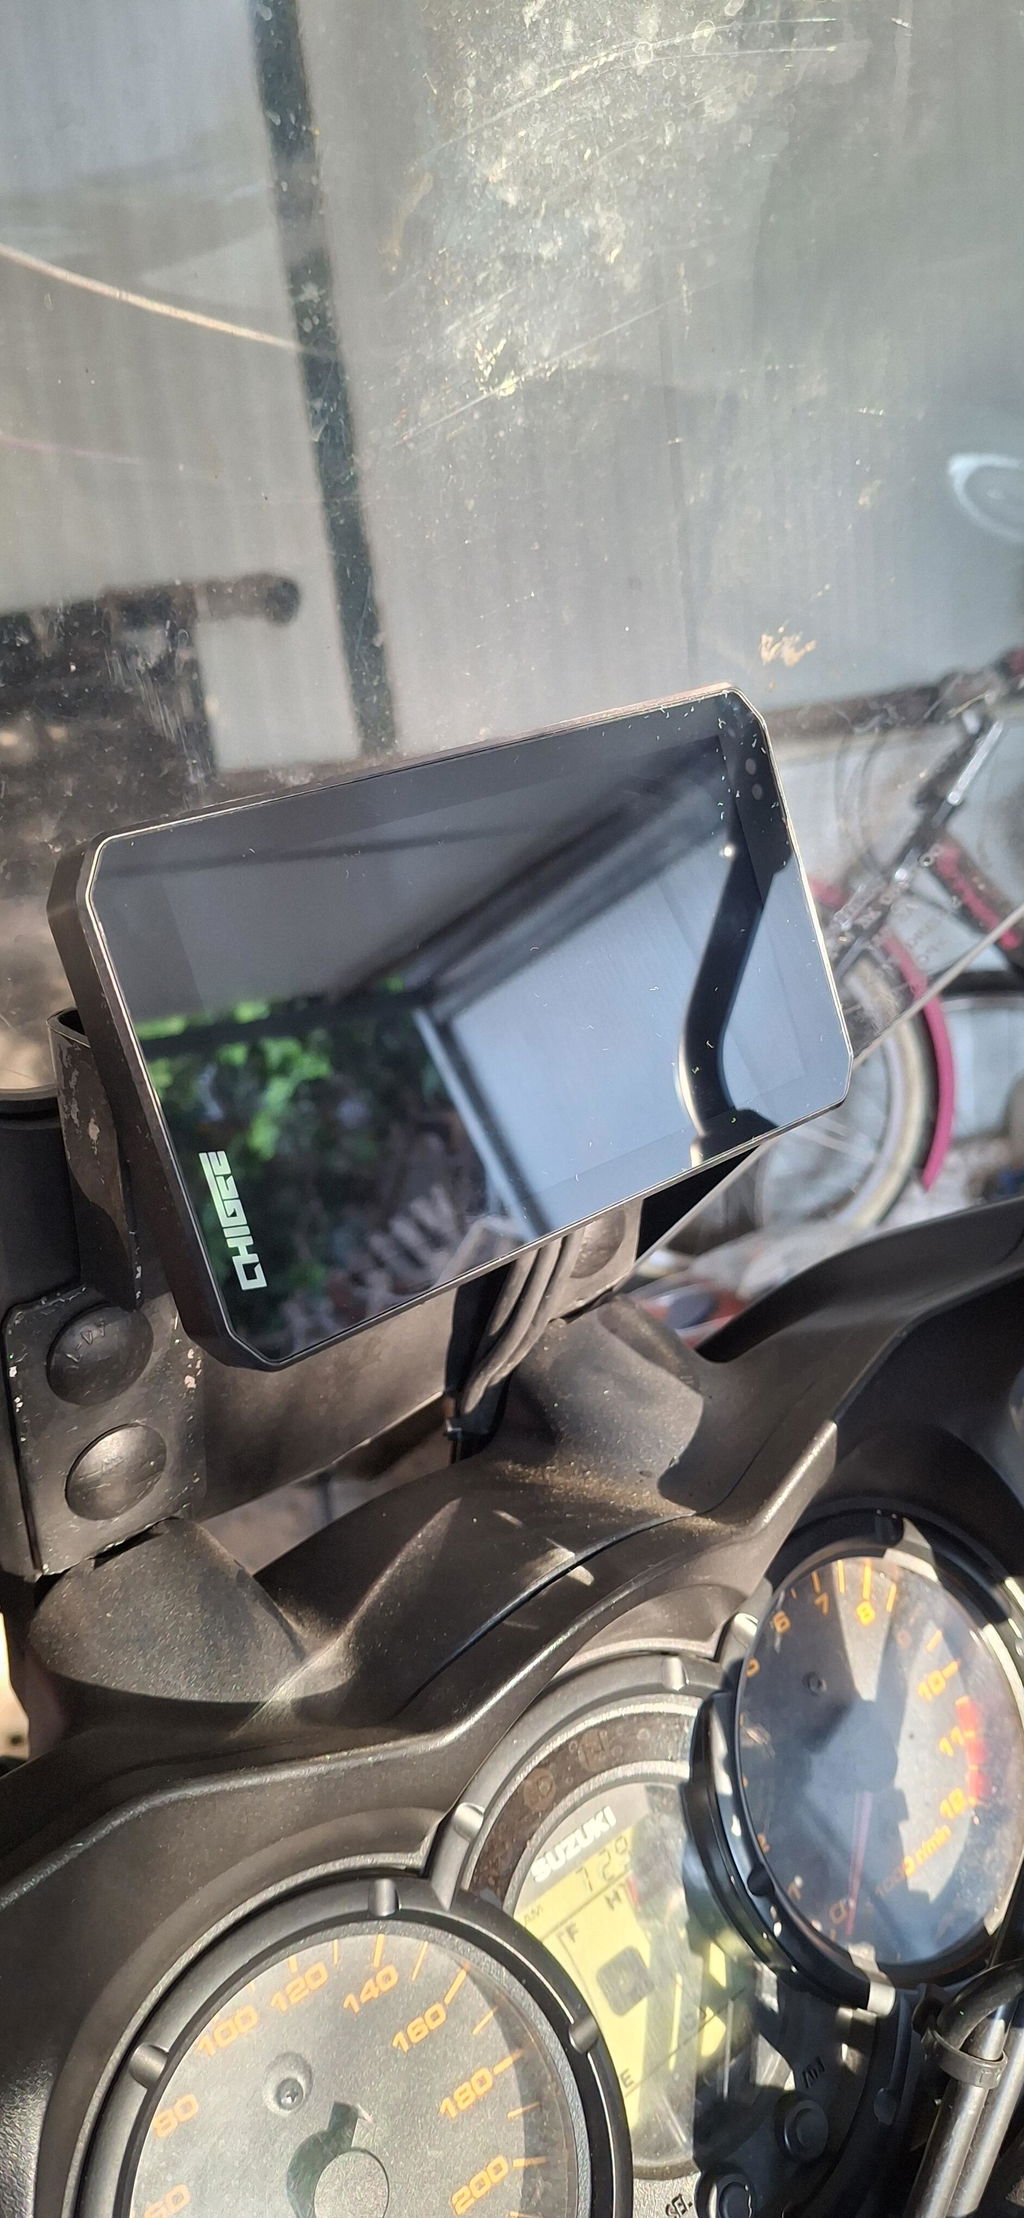
Brand: Suzuki
Model: V Strom dl 650 year 2007
On my 20 year old motorcycle, this system gave a new life and security for daily riding! Material quality, image , software are amazing and over the market.
Brand: BMW
Model: F900GS
Great but glass is delicate, need a film to protect

Brand: BMW
Model: BMW F850gs
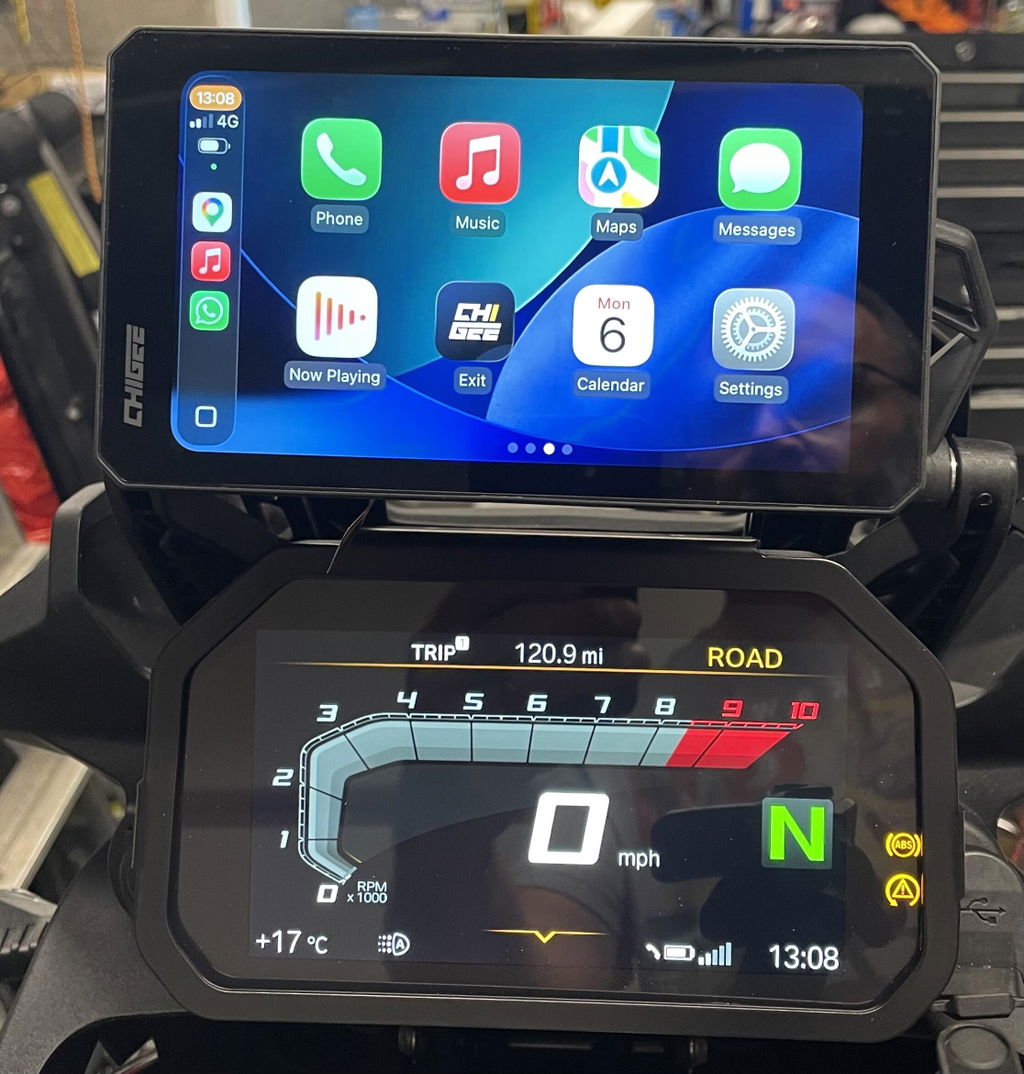
After trying cheap CarPlay that disappointed I’ve paid for the premium aio 6
And it’s worth the extra price very responsive very clear in all condition connects to phone effortlessly so far working great
Brand: Harley-Davidson
Model: Road King Special
Alles tip top, sehr gut verarbeitetes Produkt mit super lesbarkeit während der Fahrt. Einbau und Funktion einfach unf leicht verständlich.

Brand: Honda
Model: NX 190
el producto llego bien y rapido. funciona excelente