
We live in a smartphone-first world. It’s our map, our camera, our music, and sometimes even our ride buddy. We go on bike rides to escape the digital chaos, yet we still cling to our phones like lifelines. But smartphone’s weak link is their batteries; they die soon. And when you’re out on two wheels, finding a charging port isn’t exactly easy.
Yes, in a car you’ve got USB ports, wireless pads, and cupholders full of charging options. On a motorcycle? Not so much. A power bank might help… until it runs out too. What you really need is a way to tap into your bike’s power.
In this blog, we will explore two smart ways to charge your phone on the go—using your motorcycle’s own power, either through a USB port or even wirelessly if your phone supports it.
Method 1: Charging Phone via Wired Cable on Motorcycle
The first conventional method most users will go for is wired charging. Even on the go, it almost feels like charging your phone with its original wall charger.
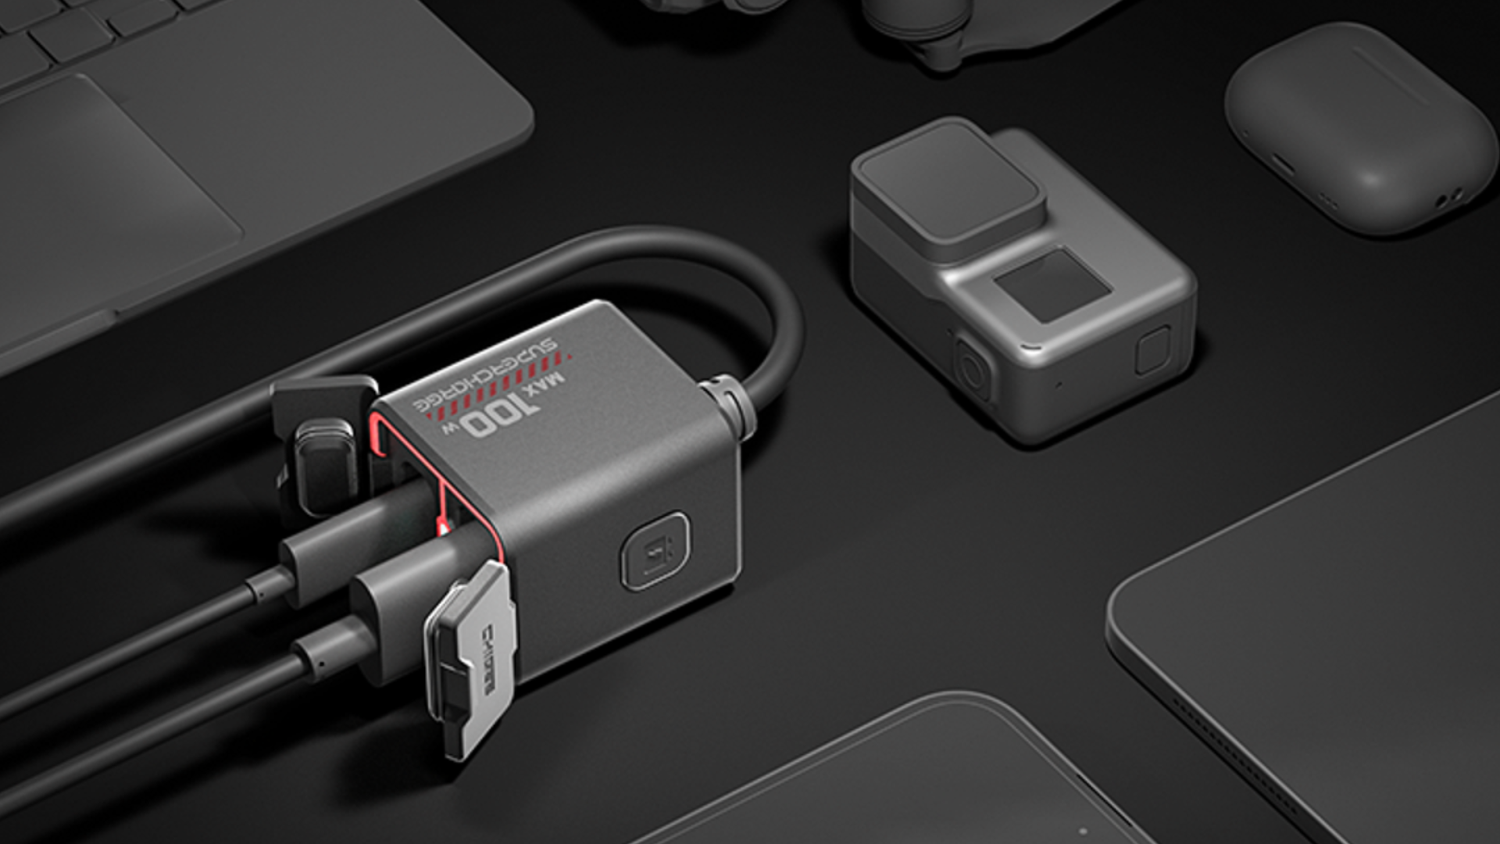
Gadget Needed: TR100

To charge your phone via a USB cable, you just need one powerful device: the TR100 Charging Hub. It delivers 100W of power output, which is more than enough to charge not only your smartphone at high speed, but also your camera, laptop, or other battery-powered gadgets.
TR100 is a two-way charger i.e. you can also reverse-charge your motorcycle battery using any mobile charger or power bank. So, you don’t need to worry about your phone battery—or even your motorcycle battery—if the TR100 is installed.
How to Charge Your Smartphone on a Motorcycle with TR100?
The device is basically plug-and-play, as you might have read in its description. The only real task is installation (which is a one-time thing, of course). Here’s how you do it:
1. Wire the TR100 Charger

Inside the TR100 package, you get a standalone system with wires, a power module, and a fuse. Connect the red wire (⑦) to your motorcycle battery’s positive terminal (⑨+). Regarding the power module, it should be kept away from heat sources, especially the engine.
2. Fix the Charger Head on the Handlebar

Use the 3M double-sided tape or fixed base to mount the charge head (with USB-A and Type-C ports) on your handlebar.
The ports need to face upward, and you’ve to ensure that cables don’t interfere with steering.
3. Switch to the Charging Mode

As mentioned earlier, the TR100 is a two-way charging module. It can either charge your phone or your bike’s battery. You can switch modes using the mode button (④).
Also, the battery mode needs to be set as per your motorcycle battery type. Switch to the common blue light mode for lead-acid batteries. Keep pressing the mode button for 2 seconds, and when it changes to purple, that’s for AGM batteries, and orange is for Li-ion batteries. For battery maintenance (charging), the indicator is flashing blue light.
4. Charge your Phone/Camera or Laptop
Once the charger is installed, you can now plug in your device into the USB-A (③) or Type-C (①s). For high-power devices (e.g., laptops), keep the engine running to protect the battery.
Method 2: Charging Your Phone via a Wireless Charger on a Motorcycle
This method is for those who own phones with wireless charging capability, or still feel that wired charging on a running bike might be risky, understandably so.
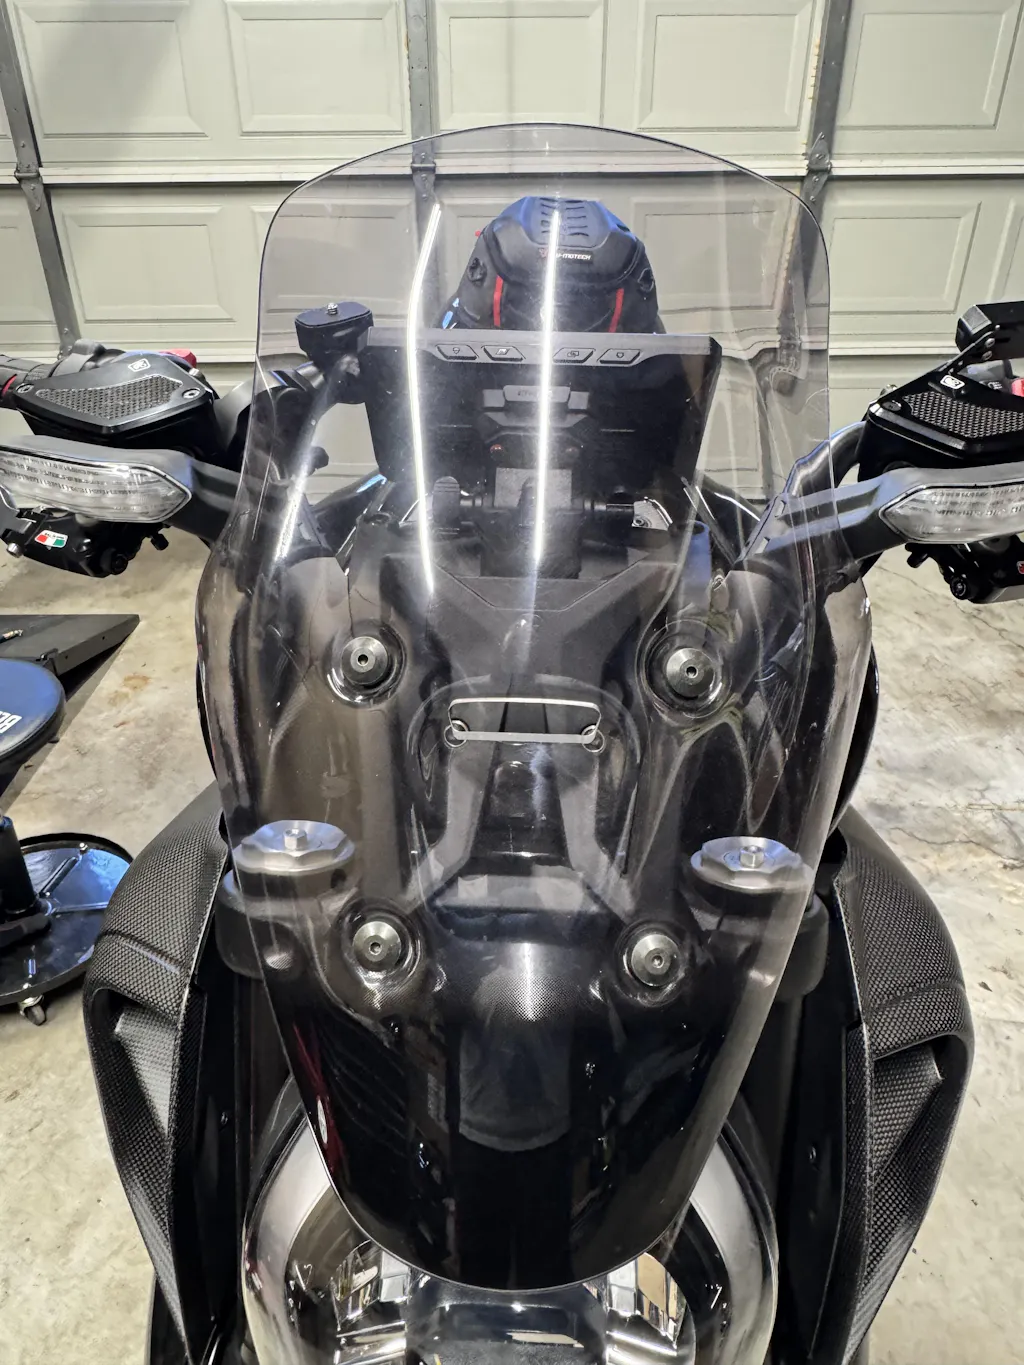
Gadget Needed: CG 2 Phone Holder

All you need is the CG-2 Wireless Phone Holder. At first glance, it looks like a regular phone holder, but hidden inside is a wireless charger that supports up to 15W fast charging. It’s not your ordinary smartphone accessory, but a purpose-engineered holder built to handle the extremes.
It features a self-locking clamp structure that can withstand wind resistance up to 200 km/h. It’s waterproof (IP67), shock-absorbent, and rotatable, making it the perfect gadget for any adventure ride.
How to Charge a Smartphone Wirelessly on a Motorcycle?
To use the CG-2 phone holder for phone charging, just follow these steps:
1. Unpack the Product

First, verify the contents of the package:
- CG-2 mount with wireless charger
- Pipe clip fixing base
- 3x adapter rings (22mm/25mm/28.6mm)
- Power cable (red/black wires)
- Tools (8mm wrench, screws)
2. Install the Pipe Clip Fixing Base

First, install the clip base. The package has different adapter rings, you can test and try out which fits your handlebar. Slide the ring onto the handlebar, aligning its tab with the clip’s slot. Tighten base screws securely using the provided wrench.
3. Attach the Cell Mount

Screw CG-2 Mount ball joint into the fixed base. Lock with side screw (prevents rotation). Adjust the angle such that the phone slot faces you (rider).
4. Wire the Setup with Battery

The wiring is as simple as earlier. Just connect the red wire to the battery positive (+). Attach the black wire to the negative (–). The only thing to take is that the wire should be away from moving parts.
5. Charge the Phone
Once everything is in place, you can use it as both a phone holder and a wireless charger. Just snap your phone into the mount. A green breathing light indicates that wireless charging is active. It also supports Type-C wired charging if needed.
Now, you won’t be worried about your smart gadgets on the adventure, right? With these two Chigee devices, we believe your rides will stay powered, connected, and just a little more carefree.; no matter how far the road takes you.

Leave a comment
All comments are moderated before being published.
This site is protected by hCaptcha and the hCaptcha Privacy Policy and Terms of Service apply.