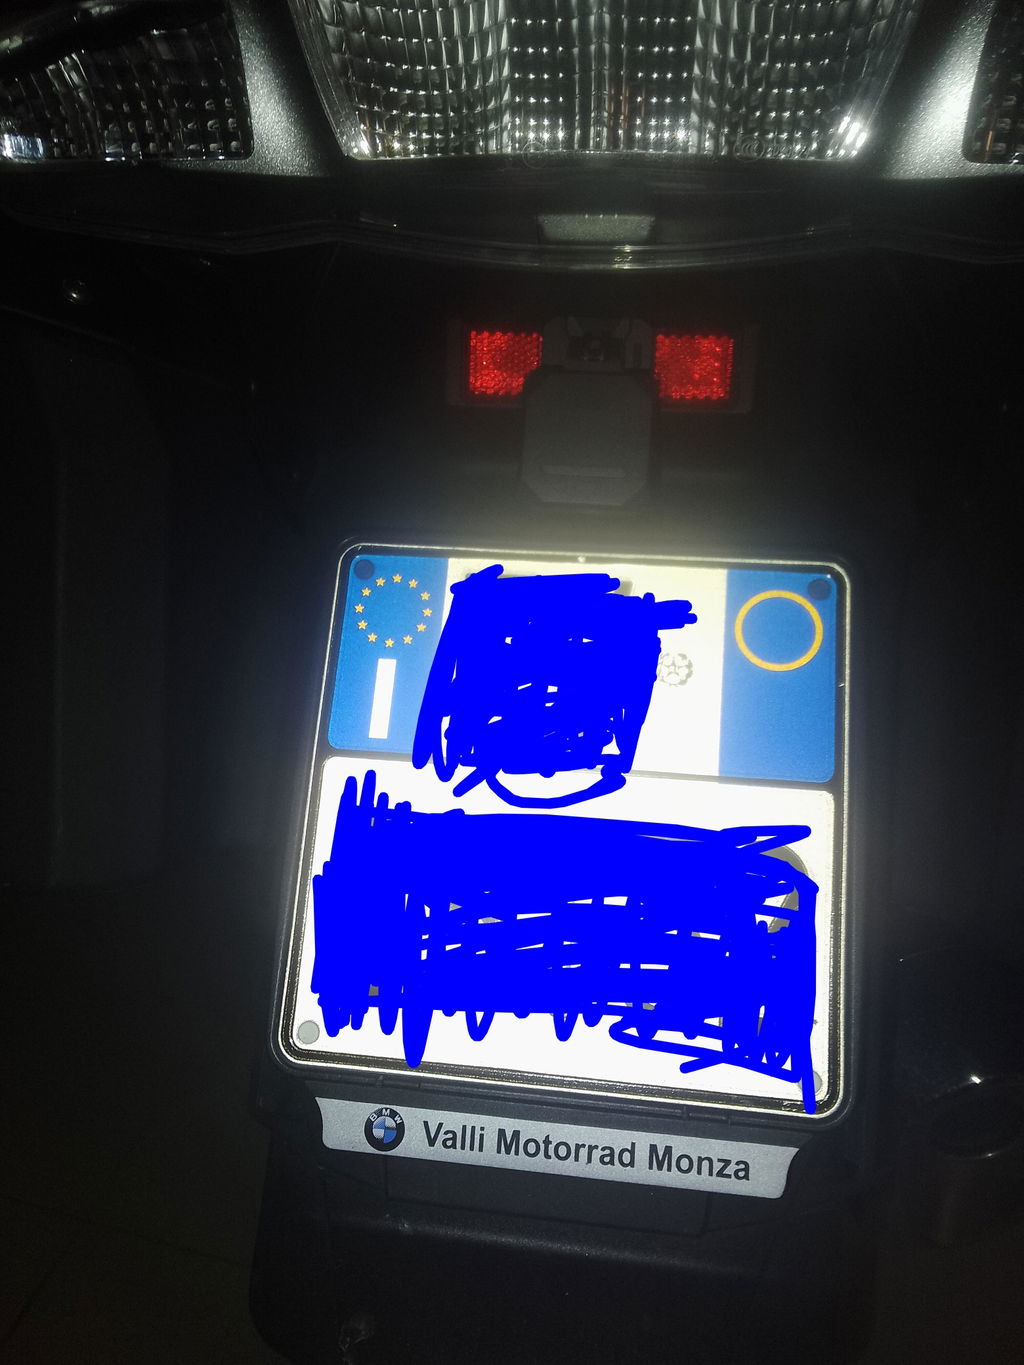
Brand: BMW
Model: R 1200 RT 2007
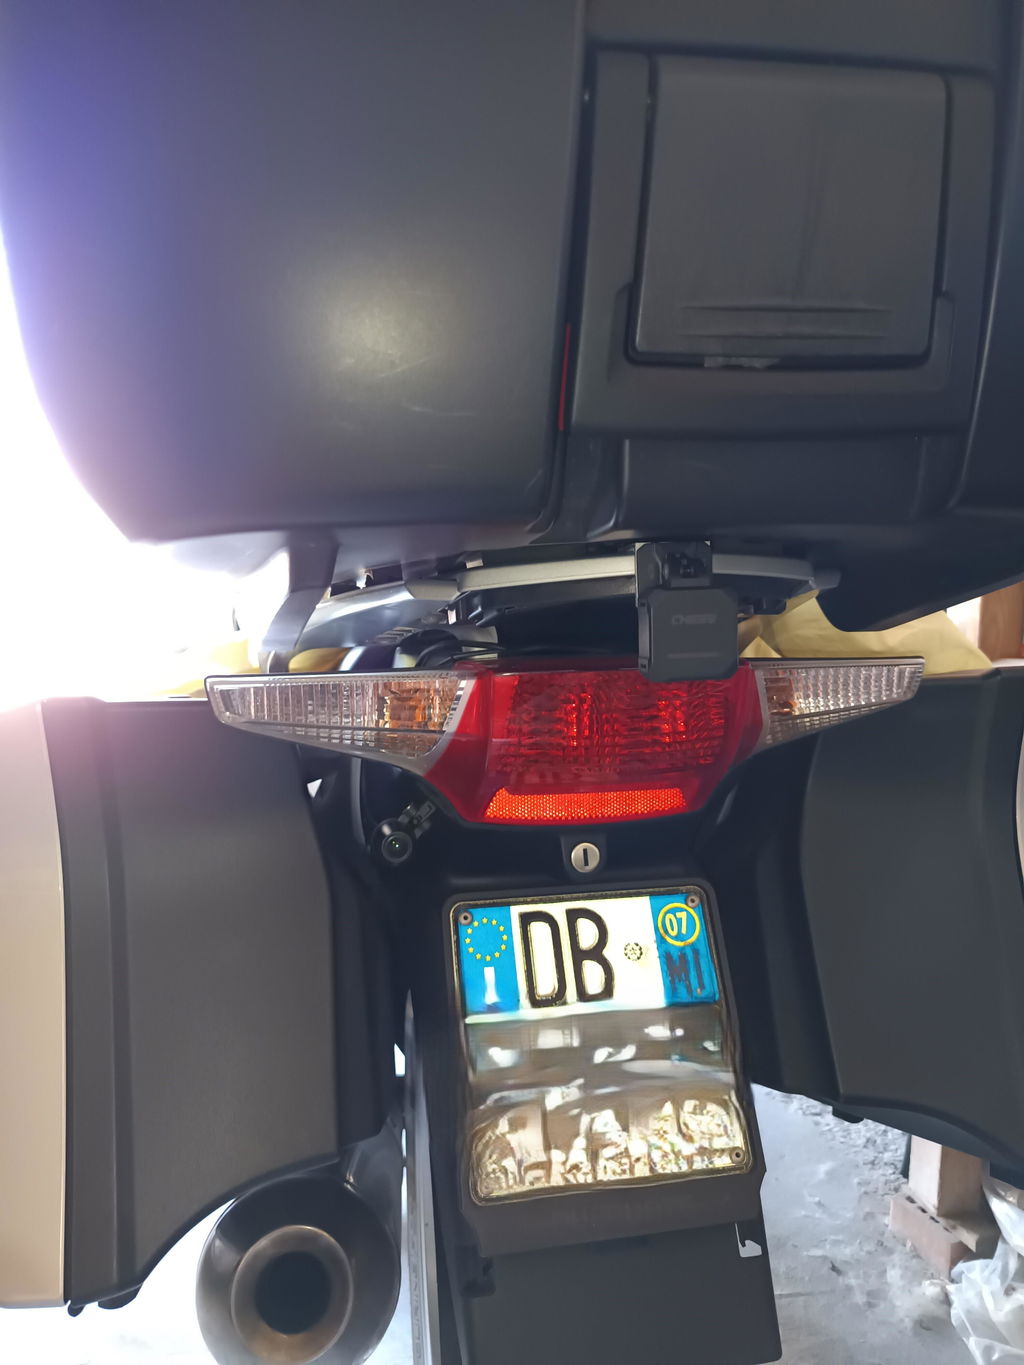
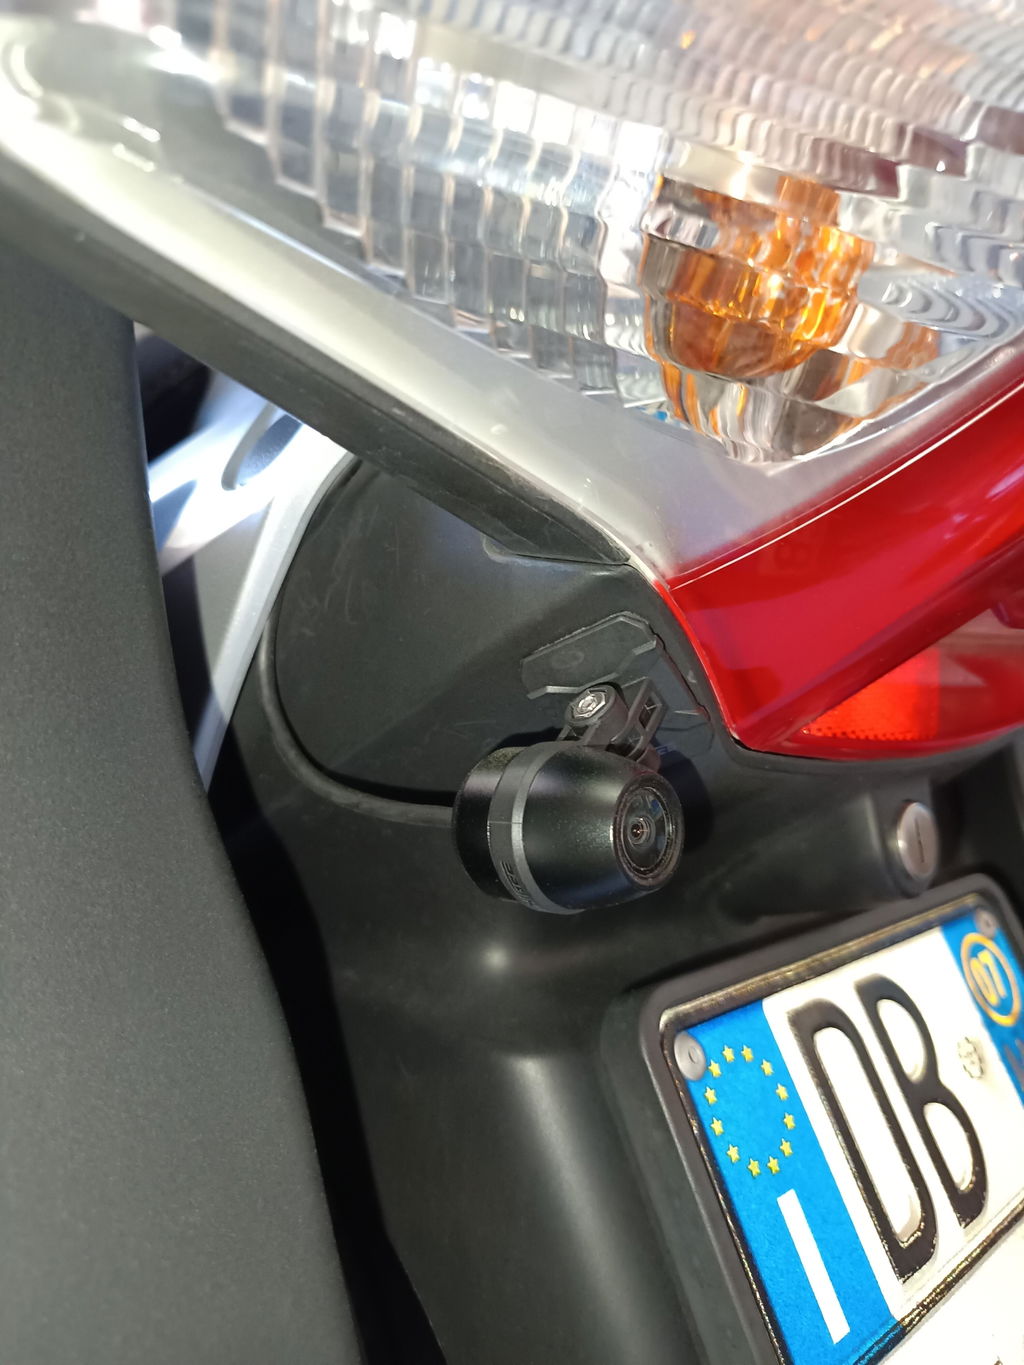
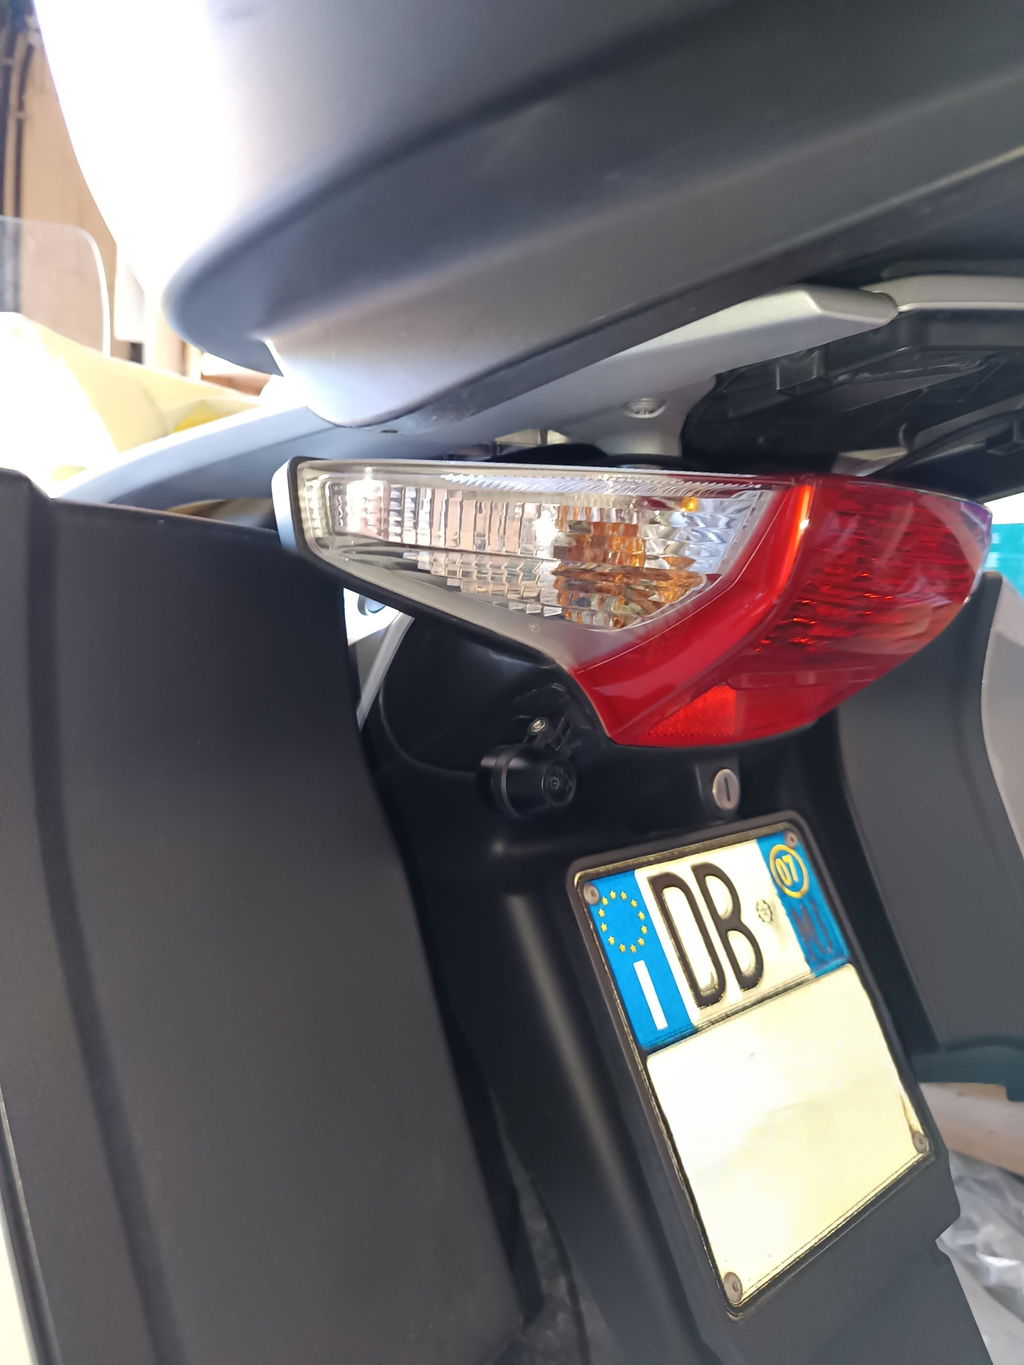
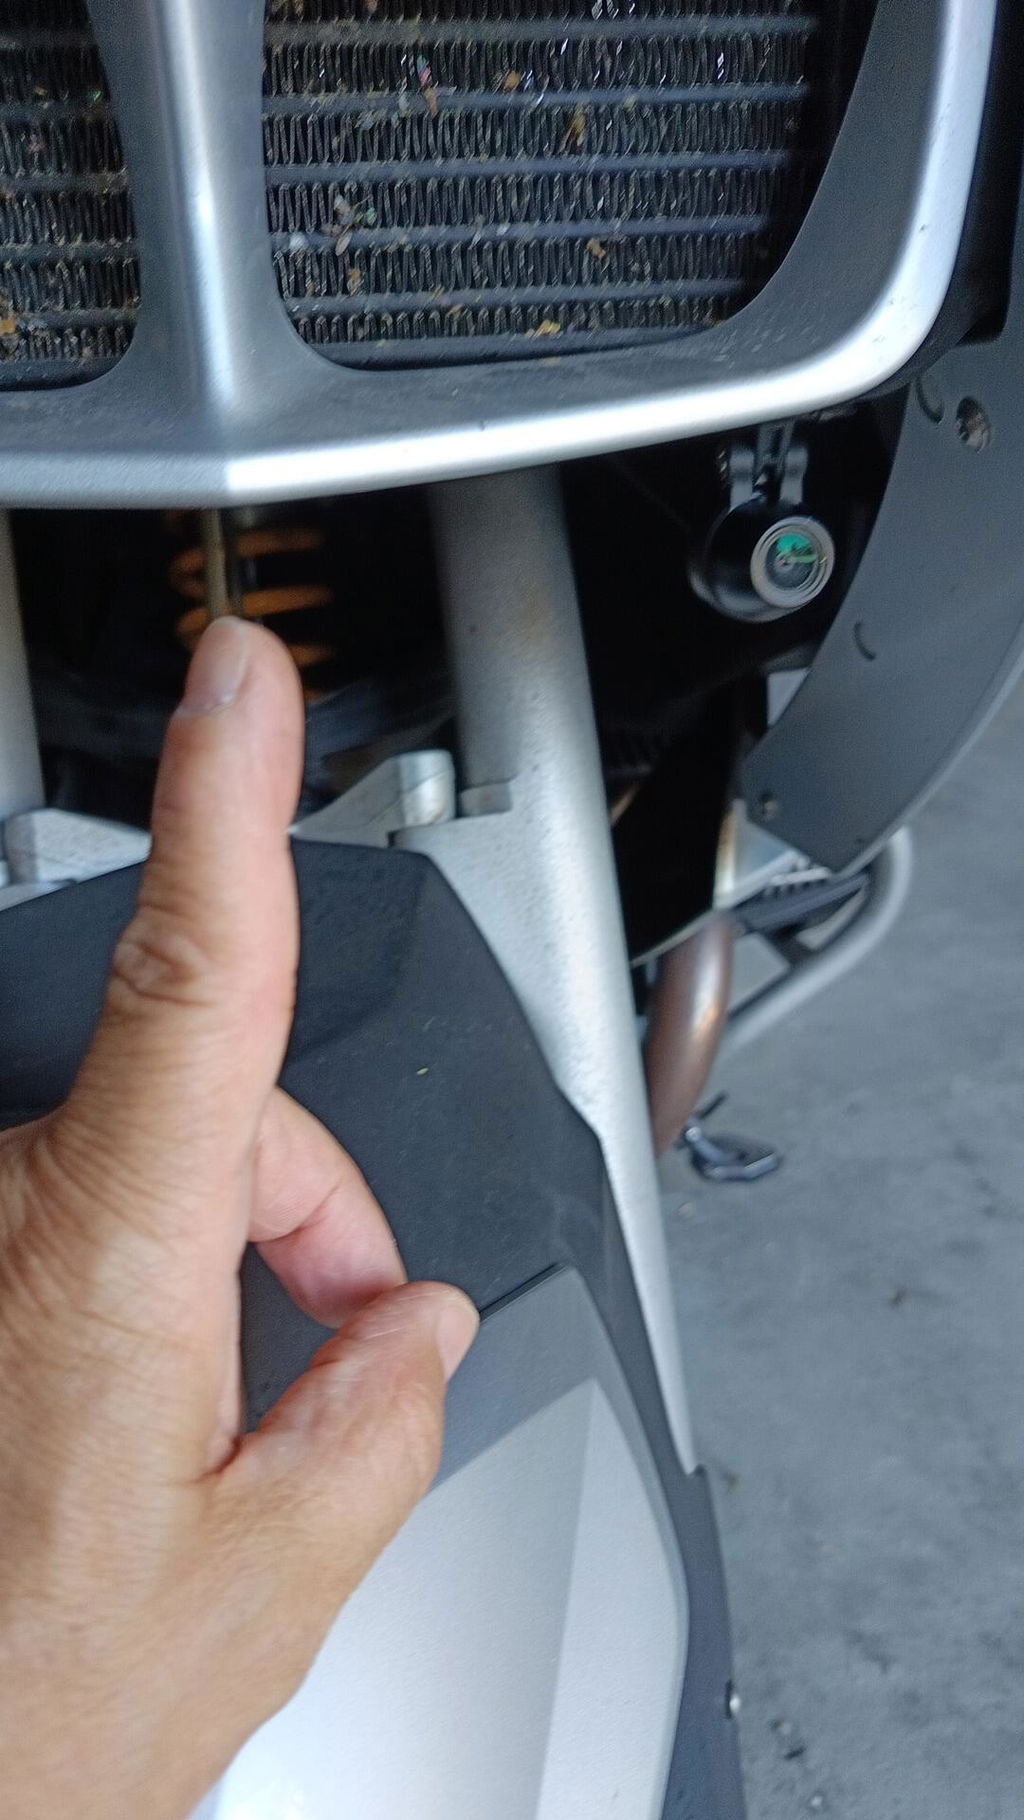
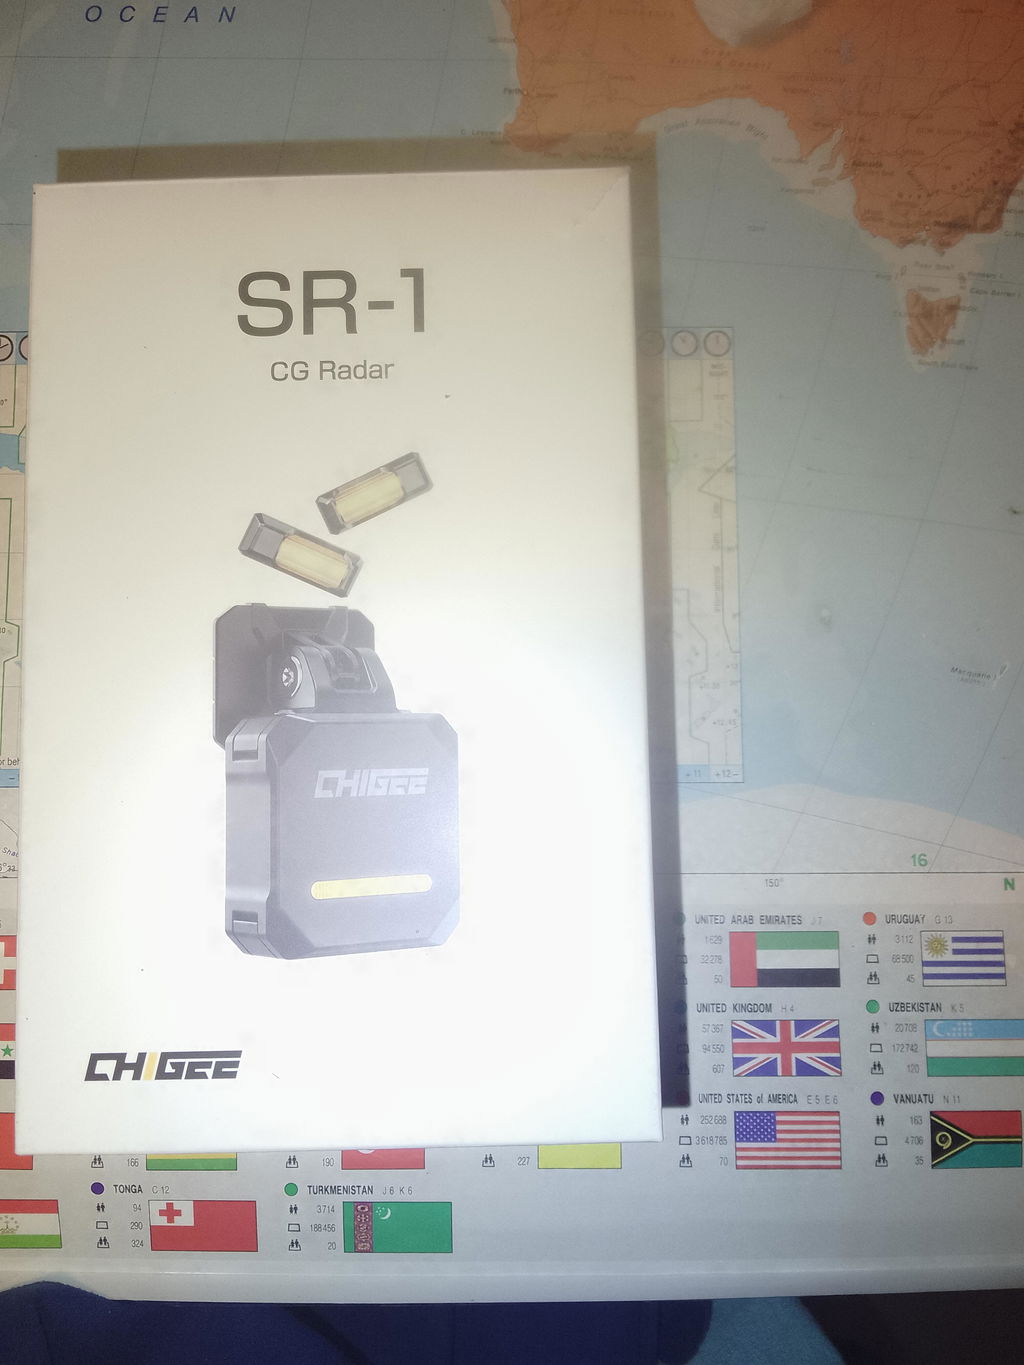
Sono veramente contento del risultato,la risoluzione video e' veramente eccezionale. Ho dovuto trovare la posizione ideale per le dashcam avendo anche il radar gia' installato.
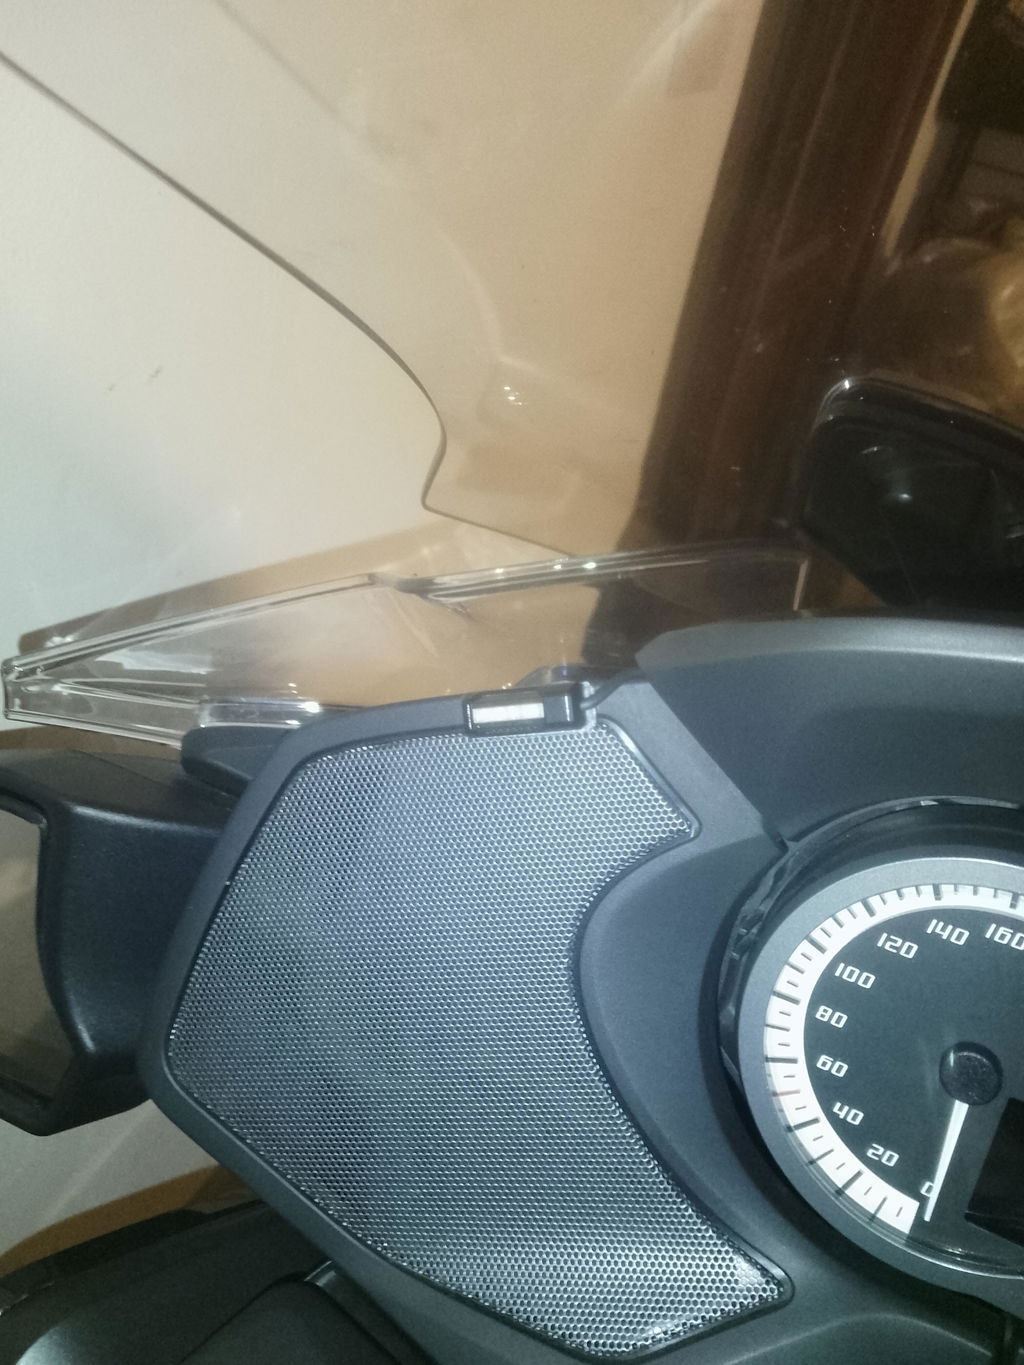
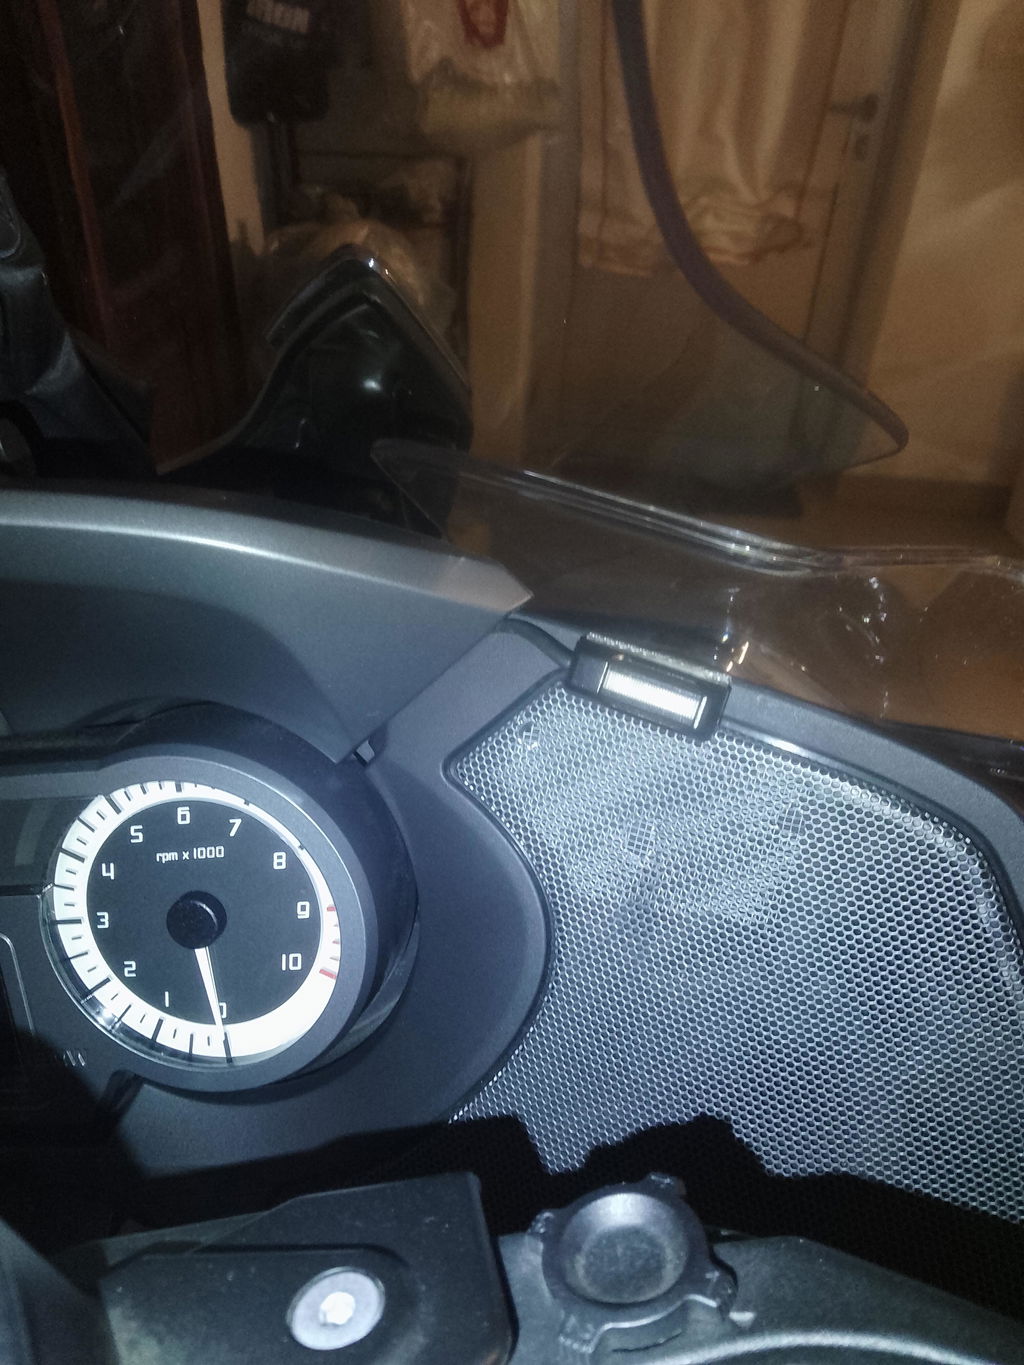
Brand: Yamaha
Model: TMAX 560 2024
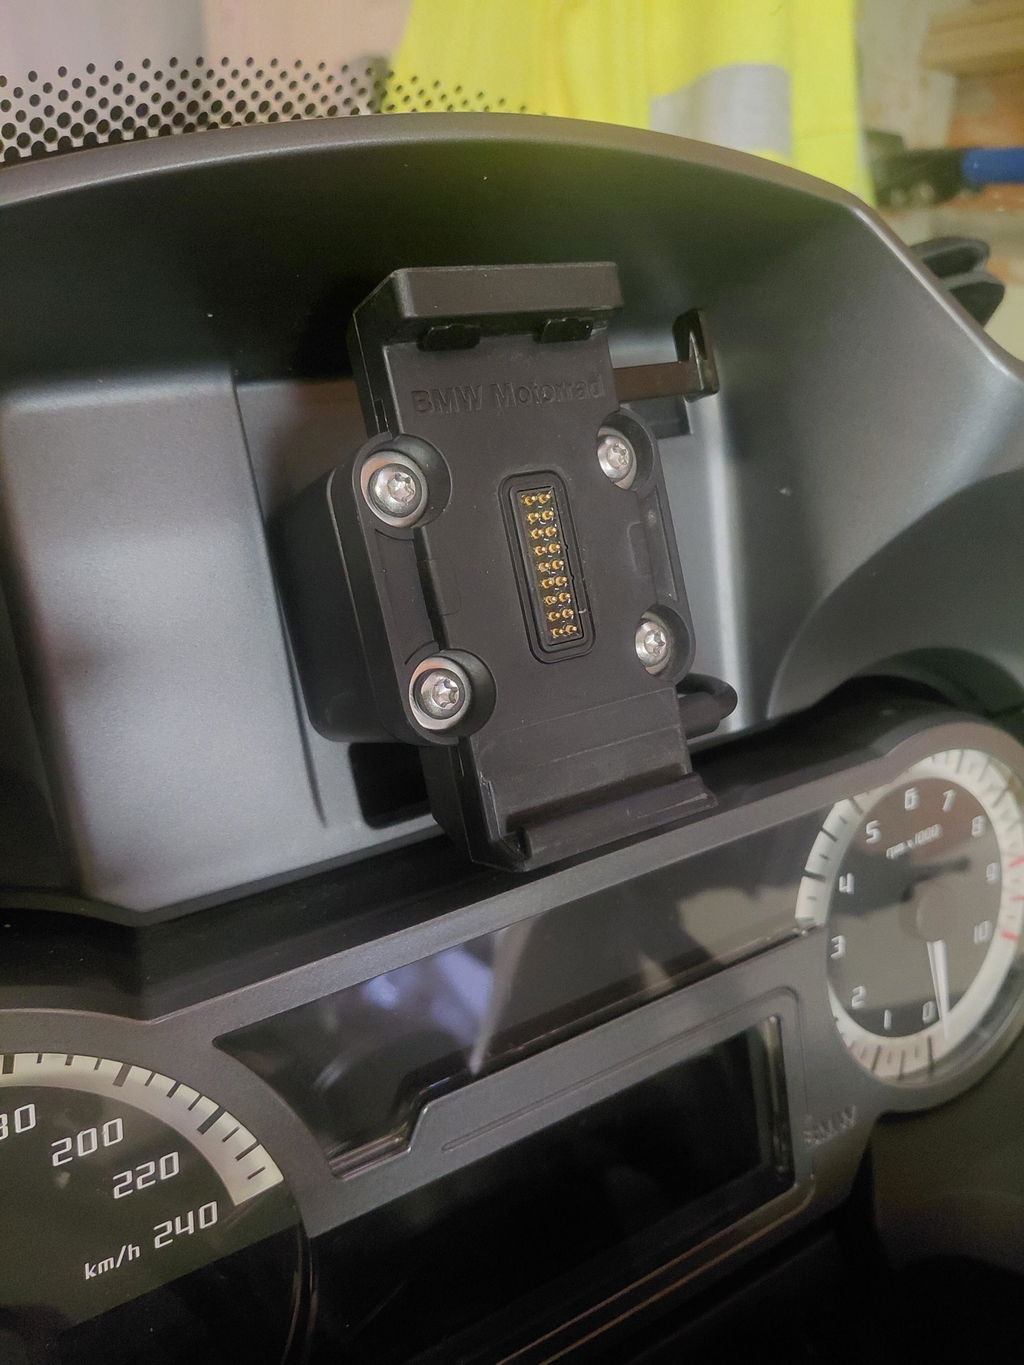
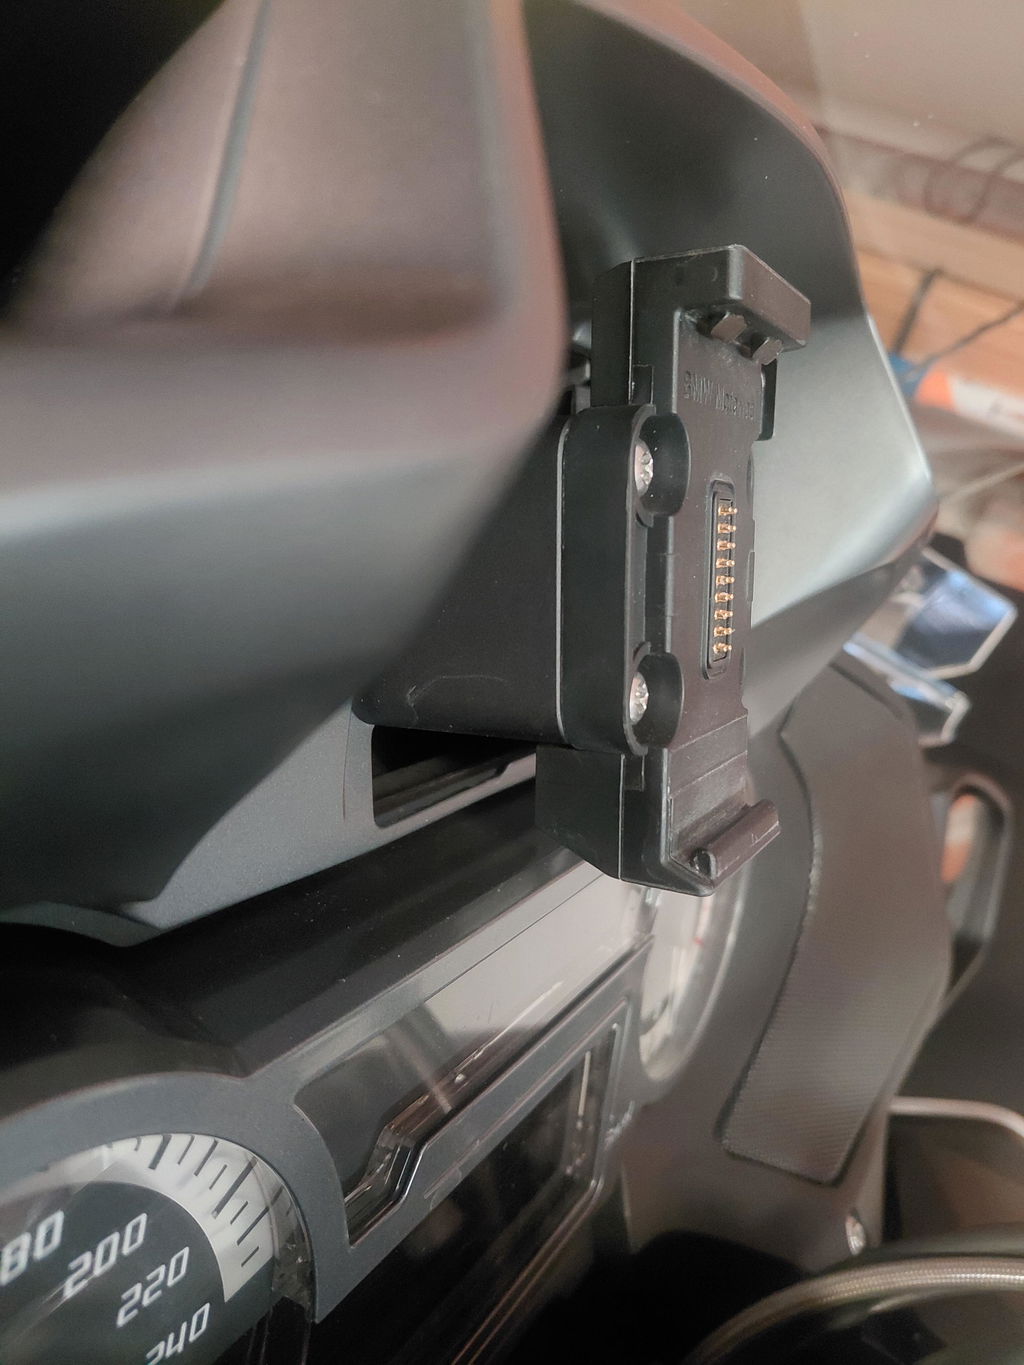
For installing head unit without a quick release mount, there is insufficient space for an Allen Key to secure the bolts. I had to replace the bolts with marine grade stainless hex head bolts, which I could then fix using a ratchet ring spanner. If you are using a quick release mount, you may be able to use the Allen Key head bolts. The bracket has no adjustment option, however I was happy with the angle as designed.
Brand: BMW
Model: R1300 GS Adventure
Realy a great addon for my 2026 R1300 GSA, kinda plug and play which is great, world seamlessly with my Sena comms, top quality screen with the antiglare lens(should be installed by default though) for the price and screen could be a tad bit larger.
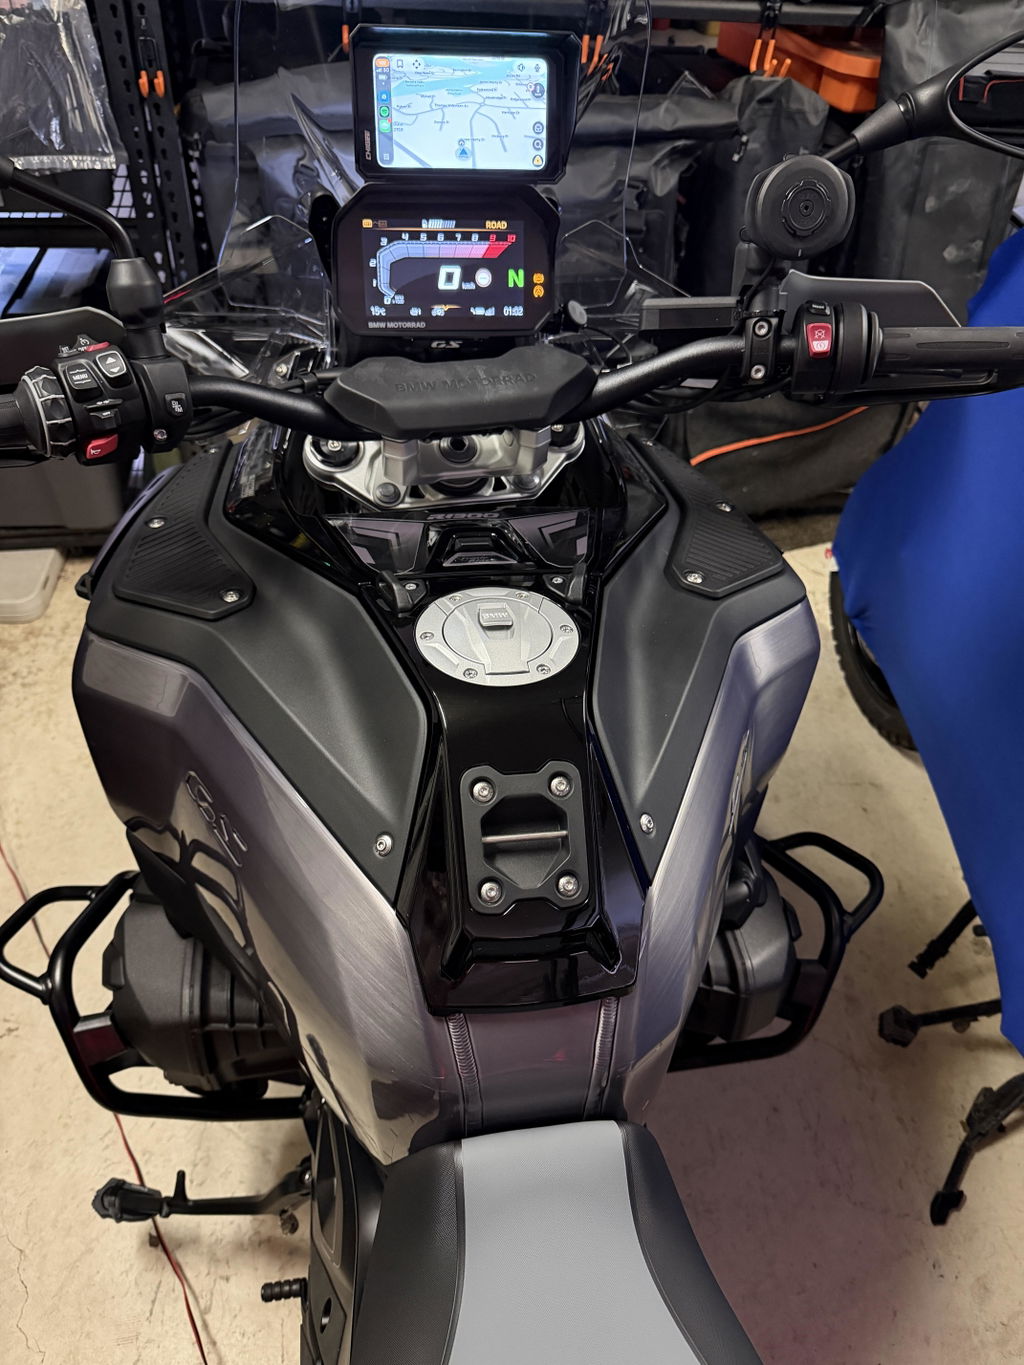
Brand: BMW
Model: R1300 GSA
Now have the AIO-6 up and running on my R1300 GSA and it looks great and integrates perfectly with the BMW system. Love the quality and after sales service has been fantastic. Looking forward to new additions to the Chigee ecosystem and might even try the cameras next on this bike!
Brand: BMW
Model: BMW RT 1250 2020
Diciamo che è una vera chicca! Ho aspettato a recensire per provarlo bene e devo confermare quanto detto e spiegato dal sistema Chigee. Il radar montato su una BMW RT 1250 2020 fa il suo benedetto lavoro, visto che gli specchietti sono messi un po' troppo in basso e i led montati sulla plancia davanti agli occhi aiutano non poco. Legge bene le macchine ad una distanza di circa 50/70 mt. Mentre se arriva una moto veloce in fase di sorpasso ti avvisa con un lampeggio efficace che non puoi non accorgertene.Molto soddisfatto per l'acquisto , materiale e spedizione top e per il montaggio davvero semplicissimo. Consigliato!
Brand: BMW
Model: R 1200 RT LC 2018
Livraison rapide et très content du support d'extension