AIO-6 EVO

User Manual

Product Overview

CHIGEE AIO-6 EVO features a 6-inch 1800-nit high-brightness display, powered by an A53 dual-core processor and CHIGEE OS 2 for a clear, smooth,
and stable large-screen smart riding experience. Its HD front and rear cameras support 1080P 30FPS recording, while IP69K water and dust resistance
and enhanced vibration resistance ensure reliable performance in demanding environments. AIO-6 EVO delivers a practical, dependable all-in-one
smart riding solution.

Package List

Part Details

1. Display Screen
2. Recording Status Indicator
3. Light Sensor
4. Screen Lock Button
5. Recording Button
6. Switch Mode Button
7. Home Button
8. Built-in Speaker
9. Microphone
10. Main Wiring Harness Port(Do not use third-party cables.)
11. Floating Vibration-Damping Mount
12. USB-C Diagnostic Port
13. SD Card Slot

Installation Guide

SD Card Installation

Use a U3-class microSD card to ensure stable video recording. Otherwise, video stuttering or data loss may occur.

*After installing the microSD card, firmly press the waterproof plug until it is flush with the body. Failure to do so may compromise waterproofing.

Device Mounting

Select the appropriate reducer ring size based on the handlebar diameter. For 32mm handlebars, use a PVC gasket to prevent scratches.

Reducer Ring 28mm

Reducer Ring 25mm

Reducer Ring 22mm

Camera Installation

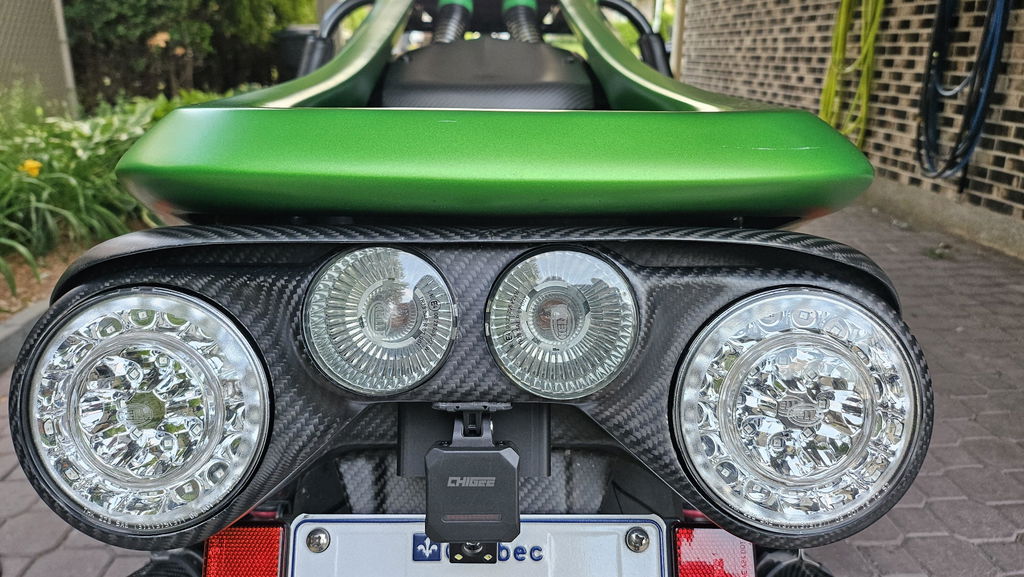
Paste the camera in a suitable position and rotate the top logo to face directly upwards.

(Note: Do not install it in areas with strong vibrations, as this may cause image shaking)

Fixed Clamp – Secures the bracket in place

M4x20 Plum Blade Adjustment Screw – Adjusts the front pitch angle

M4 Hex Nuts – Locks components firmly

3M VHB Double-Sided Adhesive – Strong and durable mounting tape

Orientation Mark – Helps align the correct installation direction

Bendable Camera Base – Flexible base for better mounting fit

Use 3M VHB double-sided adhesive to mount the camera in the ideal position. Clean the surface thoroughly before applying. Press firmly for at least 10 seconds, then let it sit for 30 minutes to ensure strong adhesion.

Product Wiring Diagram

Connect the main harness to the main unit, then attach the power cable and cameras.

Identify the front and rear cameras by checking the labels.

资源 1400

Front Camera

资源 2400

Rear Camera

Align the connector with the ▲ mark before plugging it in. Then, insert and tighten the nut.

Power Connector

Fuse Box (3A)

Connect the red wire to the motorcycle battery's positive terminal.

Connect the black wire to the motorcycle battery's negative terminal.

Connect the yellow wire to the motorcycle's ACC terminal.

Main Wiring Harness Precautions

After inserting the wiring harness into the connector, fully tighten the retaining screws to ensure a secure connection and maintain the product’s water resistance. Avoid frequently connecting, disconnecting, or removing the wiring harness.

screw torque:1.5Kgf.cm

Do not expose the device to rain, water spray, or other liquids when the wiring harness is not installed, or when it is connected but the
retaining screws are not fully tightened. Otherwise, water may enter the connector and reduce the product’s water resistance.

Device Activation Guide

Turn on the device to enter the activation page, then tap【Connect Now】

Connect to a WiFi network

Waiting for activation

Activation Successful

User Interface Overview

Display Homepage

1. GPX Track Recording
2. BMW Wonder Wheel Control
3. Wi-Fi Hotspot
4. 4G Signal
5. GPS Signal
6. Bluetooth Connection
7. Error Code
8. Firmware Update Available
9. 4G Live Streaming

10. Time

11. Weather / Sunrise & Sunset
12. Direction & Altitude
13. Settings
14. Dashboard
15. Speed
16. Total Mileage
17. Riding Recorder (Optional)
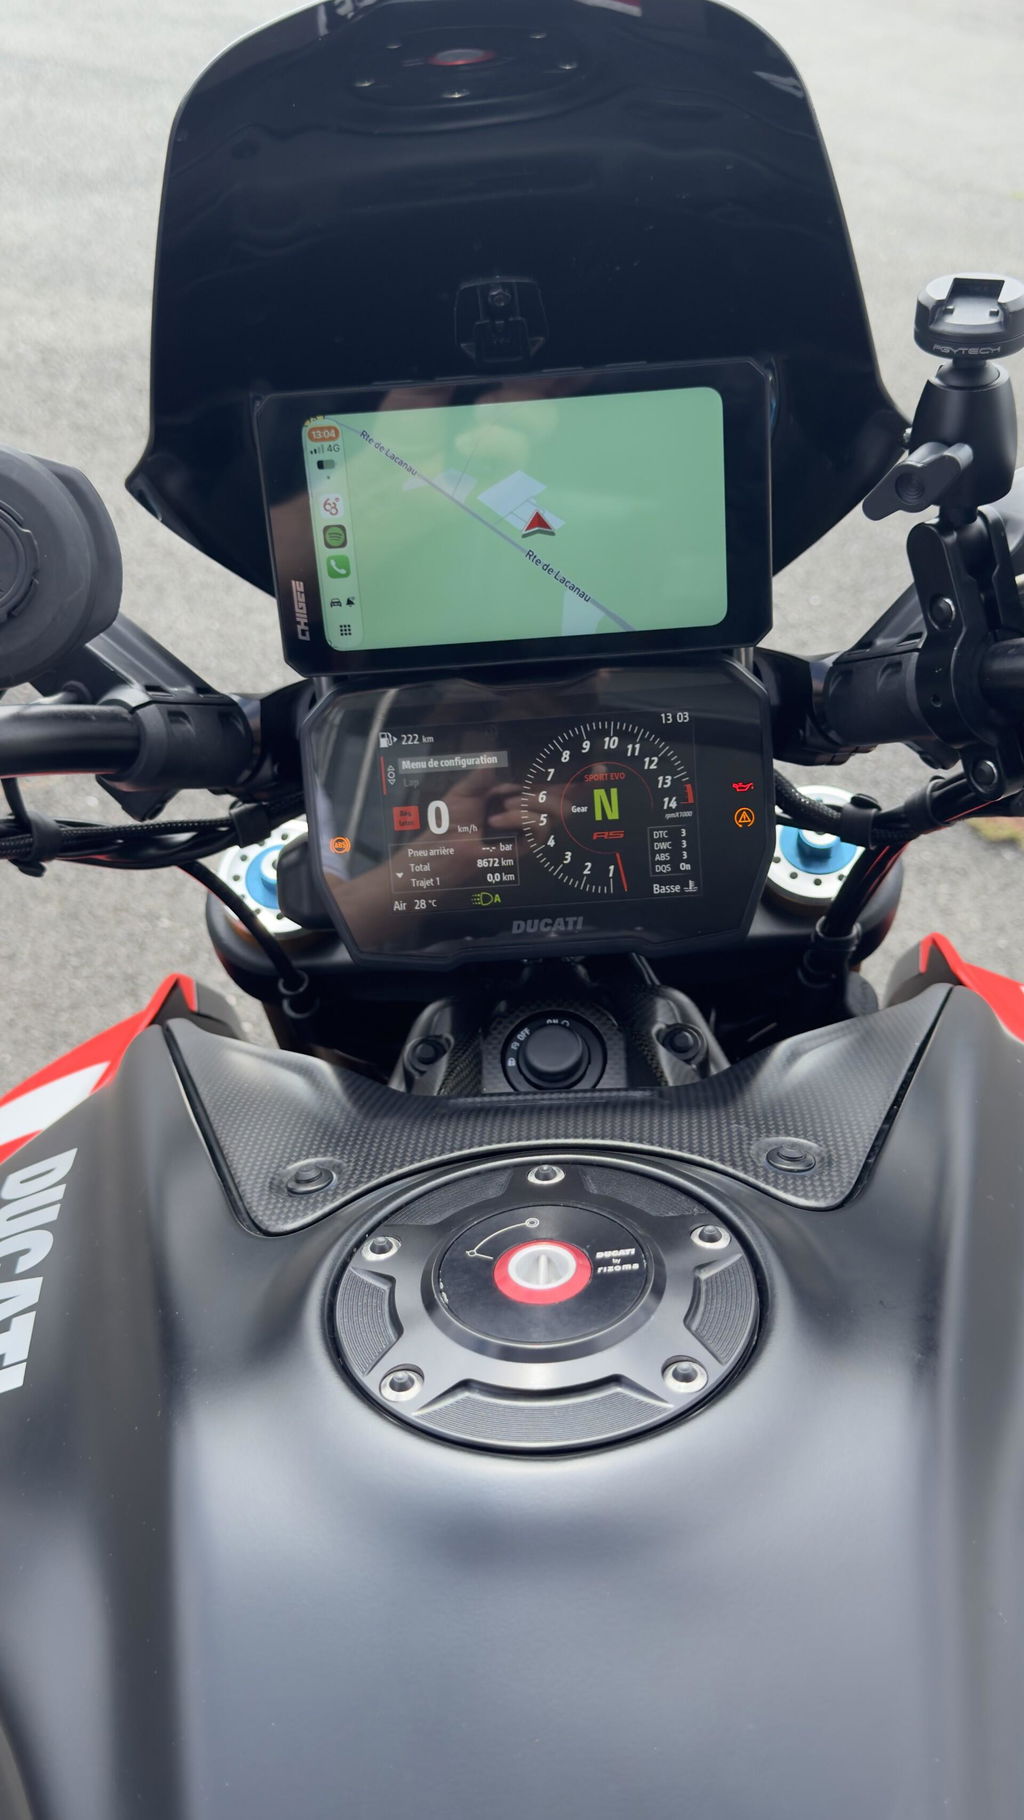
18. Phone Screen Mirroring
19. Tire Pressure (Optional)

Dashcam Footage

1. Direction
2. Settings
3. Files
4. Lock Video
5. Speed
6. Switch Camera
7. Capture Image
8. Video Recording
9. Tire Pressure

Wireless Screen Mirroring

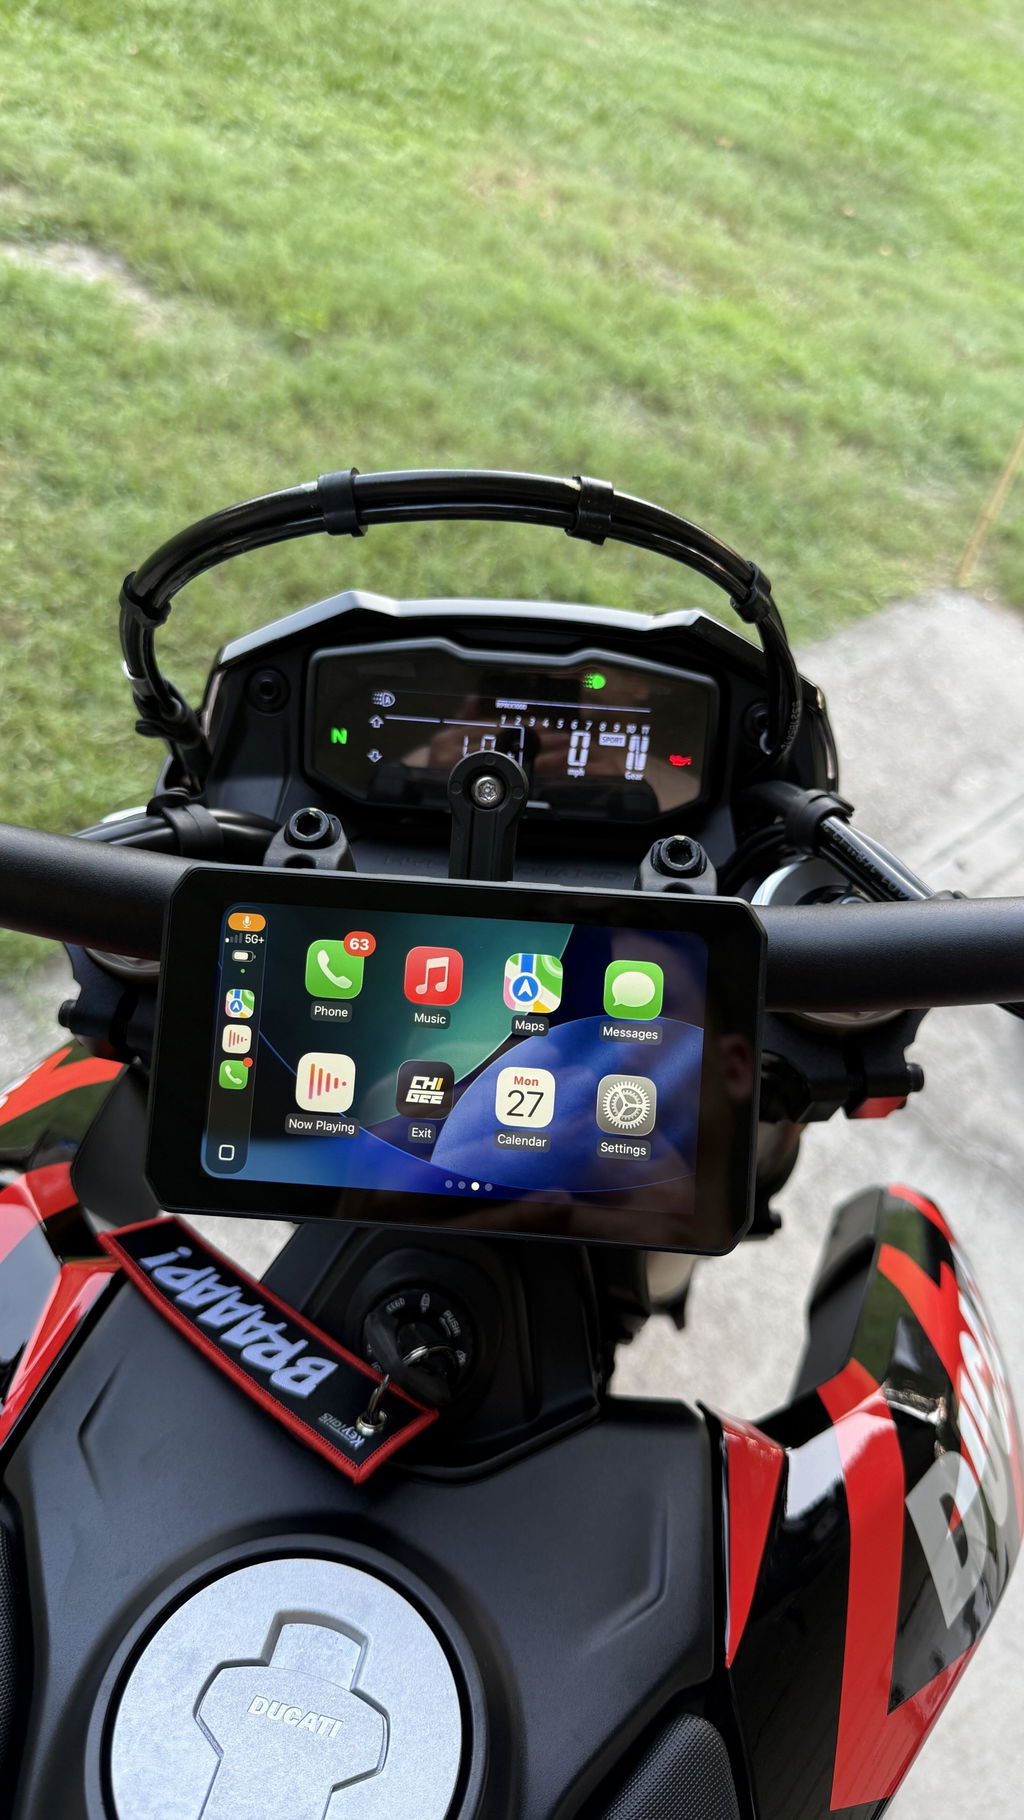
CarPlay

Pair your iOS device with CHIGEE-XXXX via Bluetooth to enable Apple CarPlay. Pair your device with Bluetooth to enable Android Auto.
 

Android Auto

Pair your device with Bluetooth to enable Android Auto.


HiCar

Enable Bluetooth on your phone, place it near the unit, select the detected device, and enter the pairing code to verify the connection.


CGPlay

使用手机打开CHIGEE GO APP扫码,以启用摩托车投屏导航。(China Only)


CarLife

车机连接Android手机热点并打开手机端百度CarLife应用,以启用投屏(China Only) 

Connection

CarPlay

1. Use your iOS device to search for and connect to CHIGEE-XXXX via Bluetooth.
2. Wait for the CarPlay pop-up window on your phone, authorize the connection, and tap to use.

Unable to Connect to Carplay

Android Auto

1. Connect to Bluetooth:CHIGEE-XXXX on Android.
2. Ensure app is up to date.

*Do not connect to CHIGEE-XXXX le. It is for iOS notifications only.

Unable to Connect to Android Auto

HiCar

1. Enable Bluetooth on your Huawei phone and place it near this device.
2. Follow the on-screen instructions to enter the PIN code.
(After the initial setup, the device will automatically connect whenever Bluetooth is enabled on your phone.)
*This feature requires a Huawei or Honor phone with Hicar Smart Drive.
*Do not connect to CHIGEE-XXXX le. It is for iOS notifications only.

CarLife

(Only for China)

1. 开启手机热点。
2. 使用AIO-6连接手机热点后,打开CarLife应用即可完成连接。

CHIGEE GO APP

Scan the QR code to download the CHIGEE GO APP, follow the instructions, and bind the device to enable the 4G function.

You can find your Serial Number in two places: 1. On the back of the product packaging.  2. On your CHIGEE display: go to Settings → About, then scan the barcode at the bottom.

CHIGEE Go App User Guide

Firmware Upgrade

The AIO-6 will periodically perform system upgrades to introduce new product features. Follow the instructions below to upgrade the firmware.

(Before upgrading, please insert an SD card into the device and format it. Note: The AIO-6 does not include an SD card. You need to purchase and insert your own SD card.)

1. Go to 【Settings】-【System Update】and tap 'Check for Updates'.

2. If a new firmware version is available, tap "Update Now" button to download it. The device will restart automatically after the download is complete. Please keep the device powered on during the entire process.

*If a firmware update fails due to unexpected power loss or other issues, resulting in the device being unable to power on, please click the link here to restore the device to normal operation.

*The beta firmware version is now available for download. Users can install it to test new features and optimizations.

Parameters

Dimensions

161 x 90.5 x 22 mm

Display

6-inch 1280x720 IPS

Weight

365 g

Rated Input Voltage

12-18V DC

Power Consumption

Driving 13 W (1800 nit),
Idle 0.006 W

Bluetooth

Bluetooth 5.0

Sensors

Light Sensor, Accelerometer, Microphone

Waterproof Rating

IP69K

CPU

Dual-core A53

RAM

4GB

Internal Storage

No Internal Storage

TF Card Expansion

Up to 256GB

Operating System

CGOS 2

WLAN

2.4/5GHz

4G Network

Supported

Video Format/Resolution

MP4; 1920*1080P / 1280*720P 30FPS

Optional

Remote Control, OBD, TPMS

Optional Accessories